We welcome on the happiest day of your life! and want to welcome to try this DIY for a wooden wedding welcome sign.
To make it an unforgettable day for you and your guests, why not give it a personalized, customized feel – it’s easier than you might think!
ADVERTISEMENT
For instance with lovingly designed signs to welcome your wedding party. They’ll bring joy to your wedding preparations as well as your guests.
To really put your own personal mark on your wedding, you can also create pretty direction markers, place name cards, menus, invitations, thank you cards and much more, all in the same design!
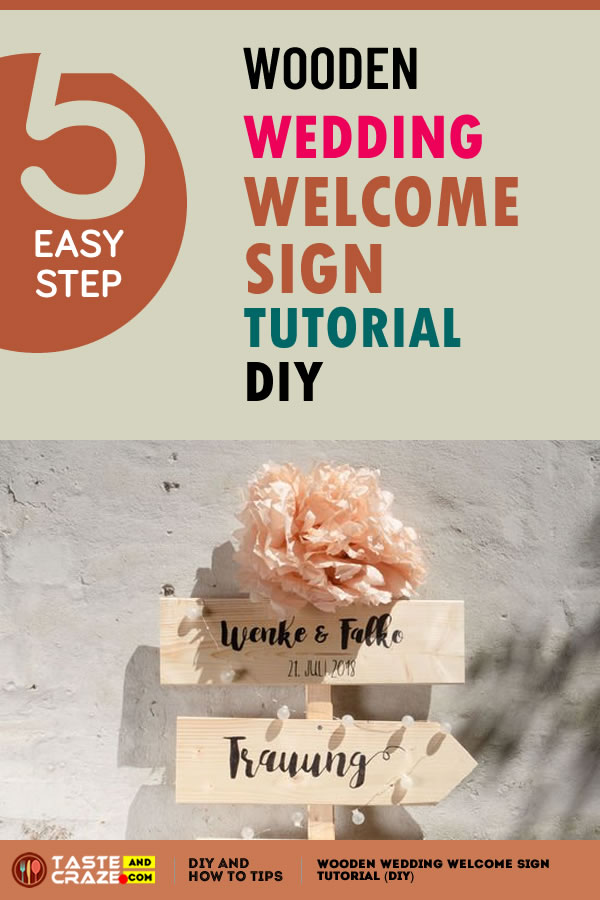
The designs look especially lovely on wood and are ideal for a wedding in the countryside.
Wooden Wedding Welcome Sign Tutorial
This is an awesome Wedding Welcome Sign Tutorial ( DIY ). Learn how to create a gorgeous see-through welcome sign for a wedding or special occasion with a few simple items.
I’ll show you how your calligraphy can look professionally done in this short tutorial. Feel free to use whatever fonts you love.
This tutorial and all of the related images are collected from staedtler.com.
Material you need
Step-by-step tutorial
1
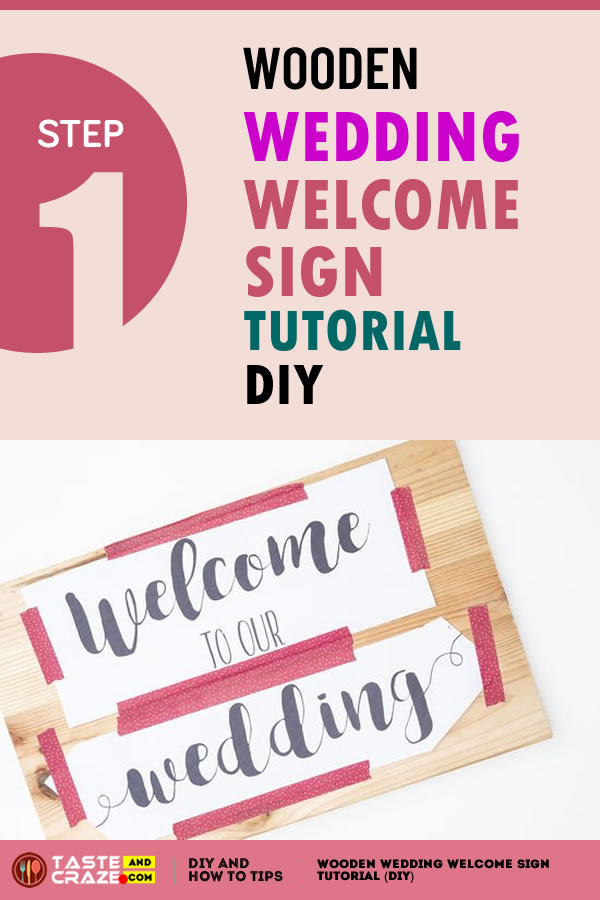
Place the printed lettering templates in the desired position on the wooden board and fix them in place with sticky tape.
2
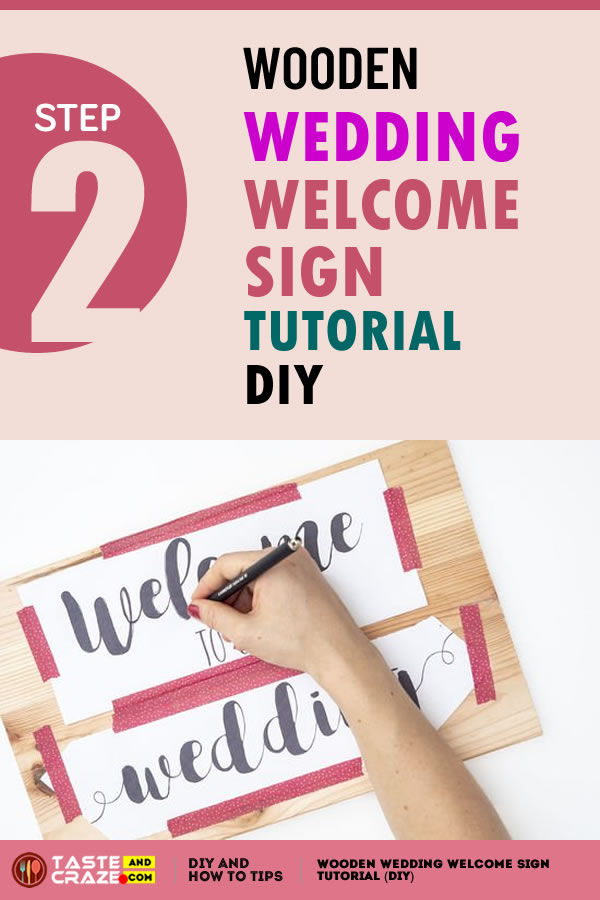
Trace / go over the outline of the lettering firmly with the ballpoint pen, so as to create an impression of it on the wood.
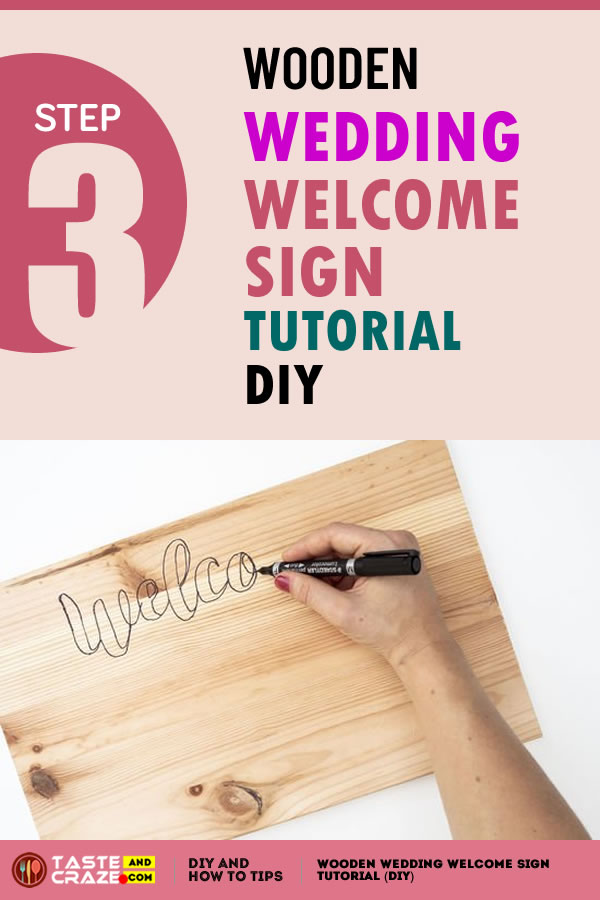
3
Remove the lettering template and trace over the faint imprint of the lines on the wood using the Lumocolor permanent duo F, until you have traced all the outlines of the lettering onto the wood.
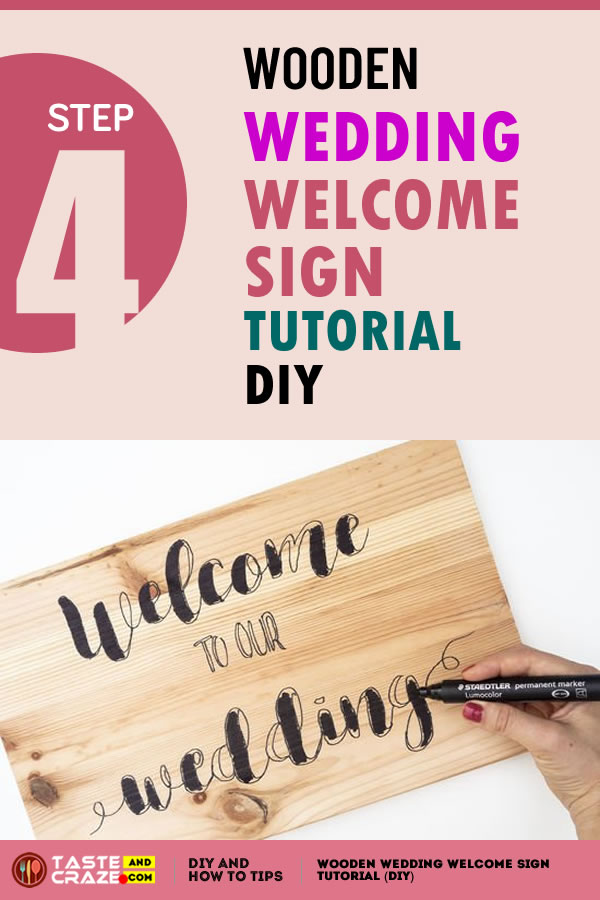
4
Now fill in all the empty spaces with the Lumocolor permanent marker. Colour in the larger areas with the thick bullet tipped marker and the thinner outlines with the Lumocolor permanent duo M.
5
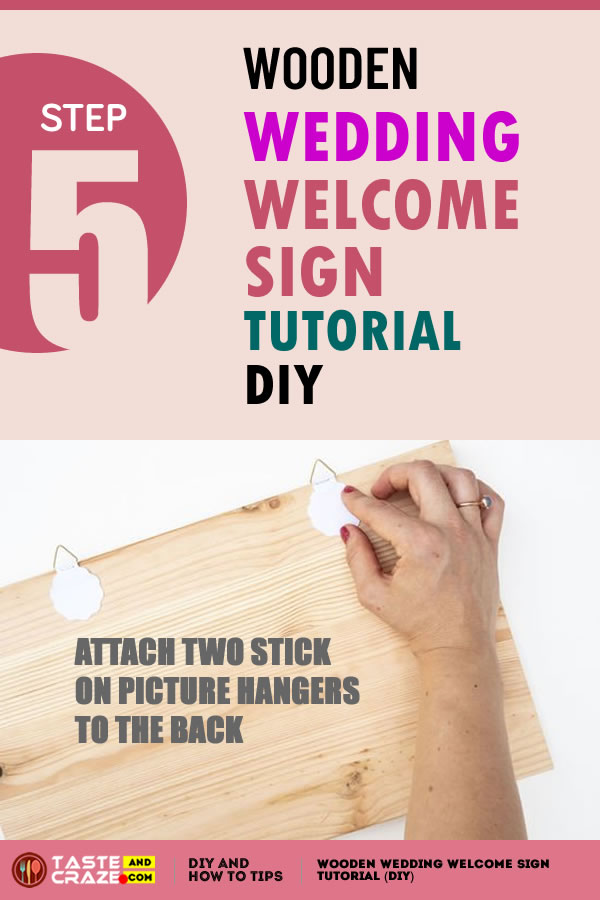
Finally, attach two stick-on picture hangers to the back, thread a sturdy cord or string through the loops and tie firmly. And you are done!
